Unlocking the Secrets of Homemade Butter: A Step-by-Step Guide
Feb 24, 2024 By Nancy Miller
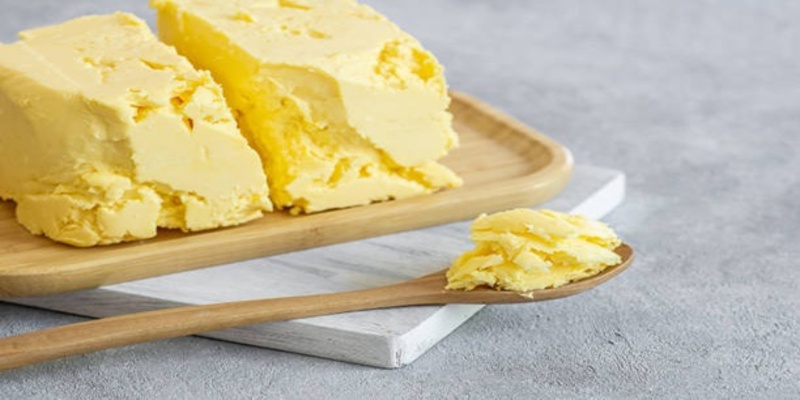
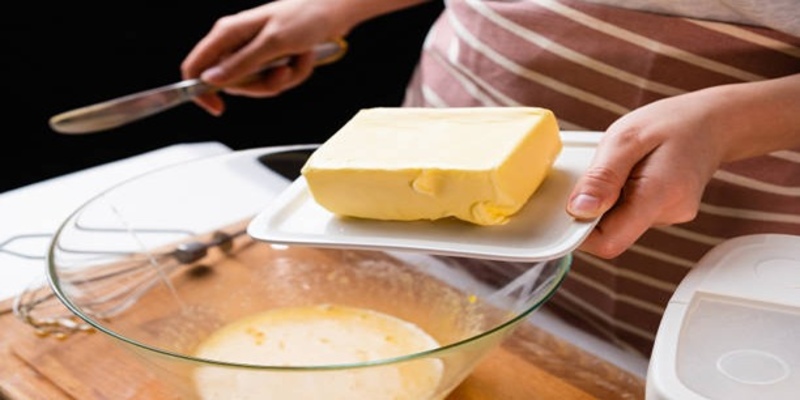
Making homemade butter is a delightful journey back to the basics, where one can revel in the simplicity and charm of creating something so staple, yet so often overlooked. It's a process steeped in tradition, yet astoundingly simple, requiring nothing more than patience, good quality cream, and a dash of elbow grease or the help of a modern kitchen appliance. This guide will walk you through the transformative stages of the cream as you churn your way to a rich, spreadable delight. Whether you're a culinary enthusiast looking to add a personal touch to your kitchen repertoire or simply curious about the craft of dairy alchemy, this guide will equip you with all you need to know to turn fresh cream into luscious, homemade butter.
Choosing the Right Cream for Your Butter:

The quality of your homemade butter begins with selecting the right cream. Ideally, opt for heavy cream with a high-fat content of around 35-40%; this will ensure a richer taste and creamier texture. Organic heavy cream is often suggested for its superior flavor and the absence of additives, but any fresh, high-quality heavy cream will suffice. The cream should be as fresh as possible, and it should be noted that ultra-pasteurized varieties, while more stable and longer-lasting, might prove more challenging to churn due to the high-heat processing they undergo. The temperature of the cream is also crucial — keep it chilled until you're ready to begin, as colder cream will separate more easily into butter and buttermilk.
Science behind Butter Making:
The journey from cream to butter is a fascinating one, grounded in science. As you agitate the cream, fat molecules begin to clump together, ultimately separating from the liquid, which is known as buttermilk. This process—called churning—forces the fat globules within the cream to collide and stick to one another, forming larger fat masses. As churning continues, these masses coalesce into a single entity, while the surrounding liquid, comprised of water, lactose, and other milk proteins, is expelled. The end result is a semi-solid we recognize as butter, a transformation that exemplifies the wonders of culinary chemistry.
Utensils and Appliances You'll Need:
To make homemade butter, you'll need a few essential tools. Traditionally, a wooden churn or barrel was used to agitate the cream, and while these can still be found today, most modern kitchens are better equipped with alternative options. A food processor or stand mixer fitted with a whisk attachment is an efficient and practical choice for churning large amounts of cream. Alternatively, a simple glass jar with a tight-fitting lid can be used for smaller batches. Whatever tool you choose, ensure it's clean and dry before beginning the process.
The Churning Process: Traditional vs. Modern Methods:
The churning process is the heart of making butter, be it by traditional methods or modern technology. In the past, churns were often operated manually, with constant agitation over a significant period of time. This method is still favored by some for its authenticity and the unique texture it imparts to the butter. In contrast, modern appliances like food processors or stand mixers do the heavy lifting, cutting down significantly on the time and physical effort required. Whichever method you choose, the key is in the consistency of movement. As the cream thickens, continue churning until you see a clear separation of butter and buttermilk. This fascinating change is not only a rewarding spectacle but also a signal that your homemade butter is nearly ready for its final stages of preparation.
How to Know When Your Butter Is Ready?
- The cream will go through several stages of transformation, starting with whipped cream, then thickening into a stiff, grainy mixture.
- As the churning process continues, you'll notice small lumps forming in the mixture—this is the butterfat beginning to separate from the liquid.
- After a few more minutes of churning, you should see a clear separation of solid butter and liquid buttermilk.
- Your butter is now ready for the final stages of preparation.
Washing and Kneading Your Butter:
Once you've churned your cream into butter, it's time to remove any remaining buttermilk to prevent spoilage. To do this, place the butter in a large bowl of cold water and use clean hands to gently knead and squeeze it until the water turns milky. This process will remove any residual buttermilk, which can sour and spoil the butter if not removed. Drain the water and repeat this step a few times until the water remains clear after squeezing.
Adding Salt or Flavorings:
If desired, now is the time to add salt or other flavorings to your butter. Salt helps to preserve the butter and also adds a delicious savory note to its flavor. Simply knead in a pinch of salt or other seasonings of your choice, such as minced herbs or honey, until evenly distributed.
Storing Your Homemade Butter Properly:

- Once your butter is washed, kneaded, and seasoned to your liking, shape it into a ball or log using clean hands or a mold.
- Wrap the butter tightly in plastic wrap or parchment paper to protect it from air and light.
- For long-term storage, keep the butter refrigerated in an airtight container for up to two weeks.
- For extended storage, you can also freeze the butter for up to six months.
Conclusion:
Homemade butter is a delicious and rewarding addition to any kitchen, and with this guide, you now have all the knowledge and tools necessary to make your own. From selecting the right cream to storing your finished product, making homemade butter is a simple yet fascinating process that will delight your taste buds and impress your friends and family. So go ahead and churn your way to a richer, creamier butter for all your cooking and baking needs! So why wait? Start making your own homemade butter today! Happy churning!


